
Flutterの開発をVSCodeで行う場合の設定手順を紹介します。
設定手順はmacOSを想定しています。
Flutterのインストール&セットアップ
これからFlutterをインストールする方には、インストール&セットアップ方法の記事を書きました。こちらを参考にFlutterのインストールを完了させてから、この先の記事をご覧ください。

VSCodeでFlutterの開発環境を構築する方法
1. VSCodeのインストール
もしまだVSCodeをインストールしていない場合は、インストールを行いましょう。
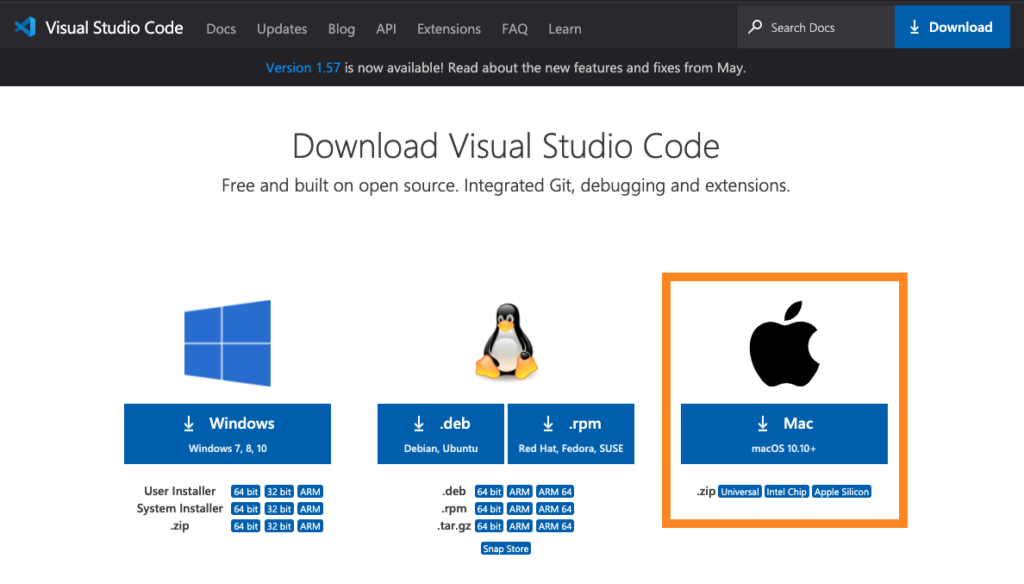
公式ページからVSCodeをダウンロードします。
公式ページ:https://code.visualstudio.com/Download
ダウンロードファイルをクリックして、アプリをApplicationsに追加すればOKです。
2. Flutterのプラグインをインストール
VSCodeを立ち上げて、Flutterのプラグインをインストールします。
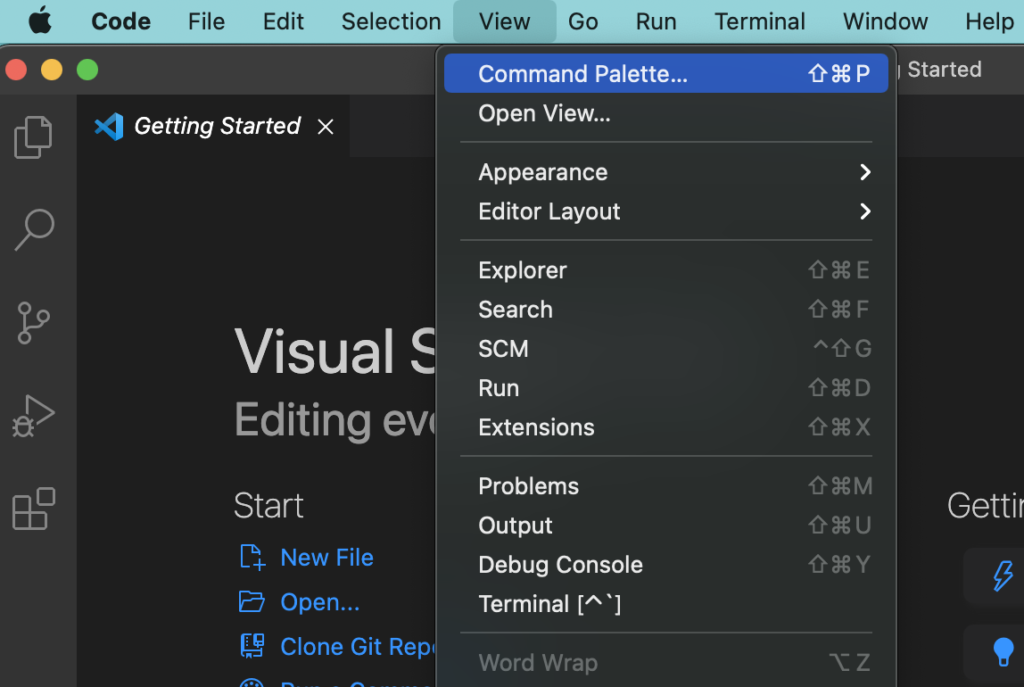
メニューバーより、View > Command Palette…をクリックすると、コマンドを入力できるパレットが表示されます。
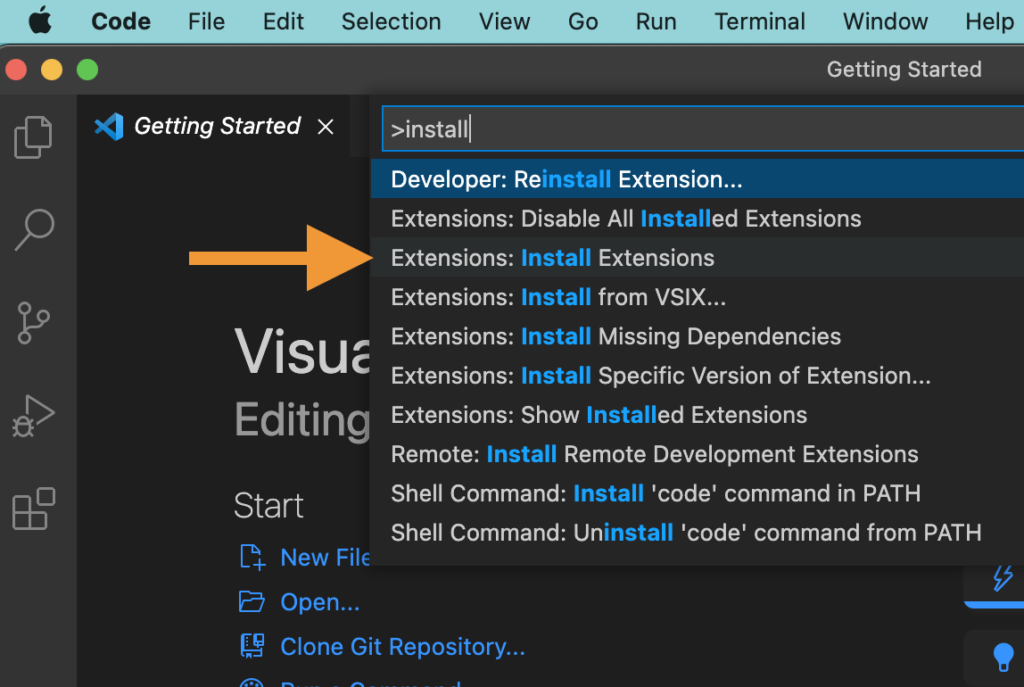
“install”と入力して、Extensions: Install Extensionsを選択。
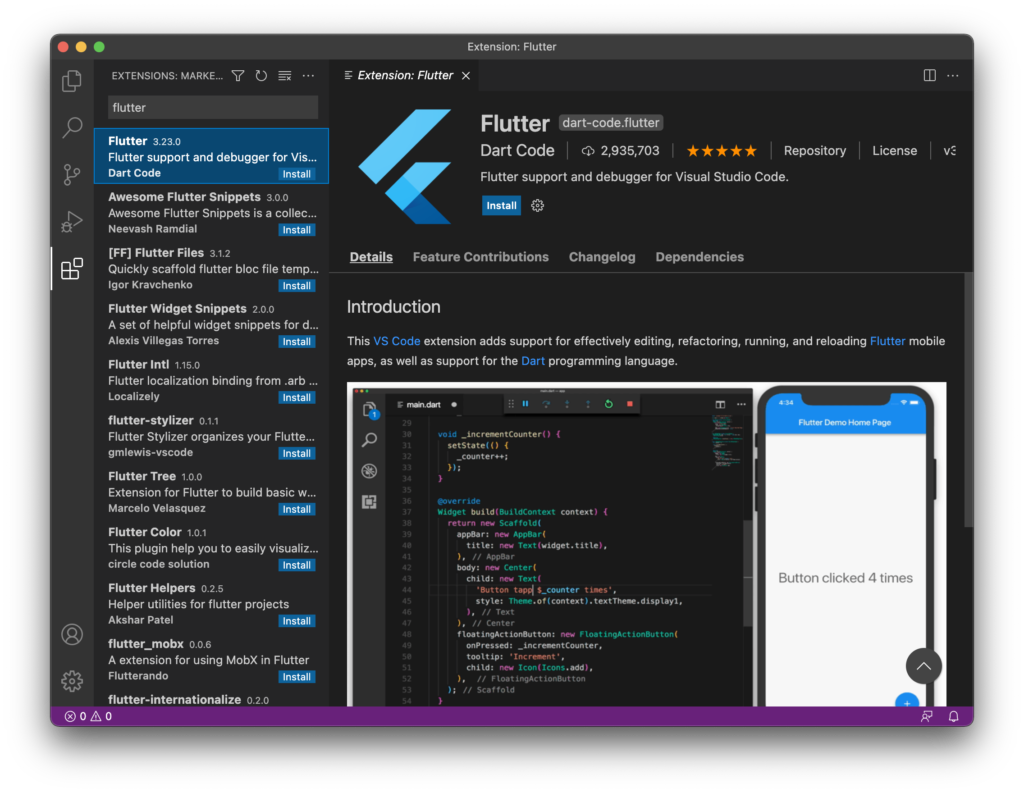
検索フィールドに”flutter”と入力して、Flutterのプラグインをinstallします。
3. flutter doctorでセットアップの確認
View > Command Palette…をもう一度クリックして、flutter doctorを実行させます。
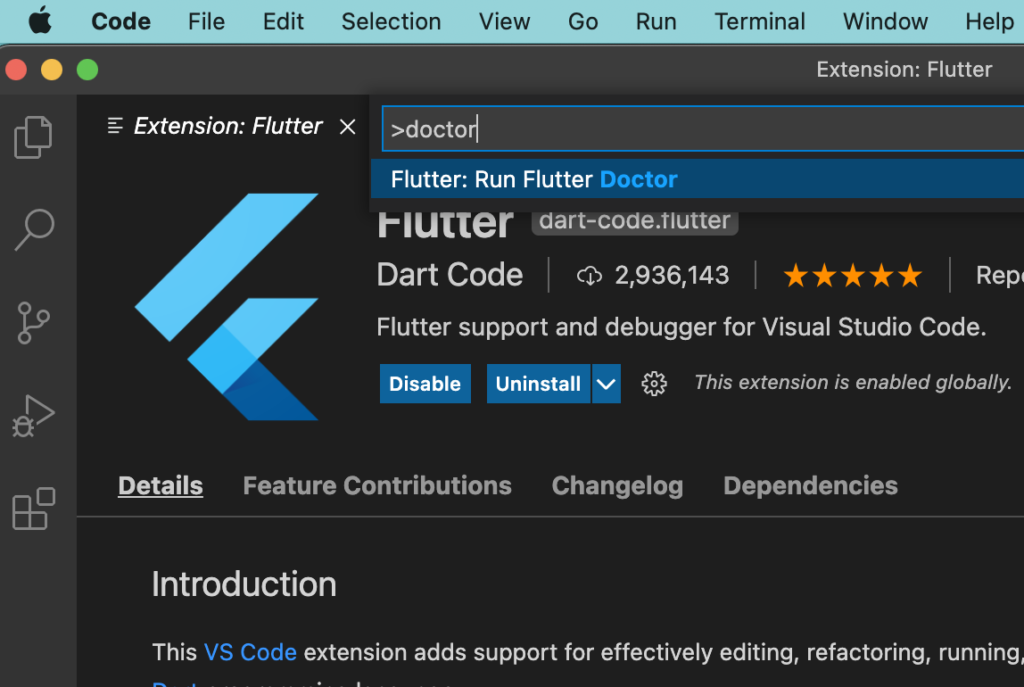
“install”と入力して、Extensions: Install Extensionsを選択。
OUTPUTにflutter doctorの実行結果が表示されていればOKです。
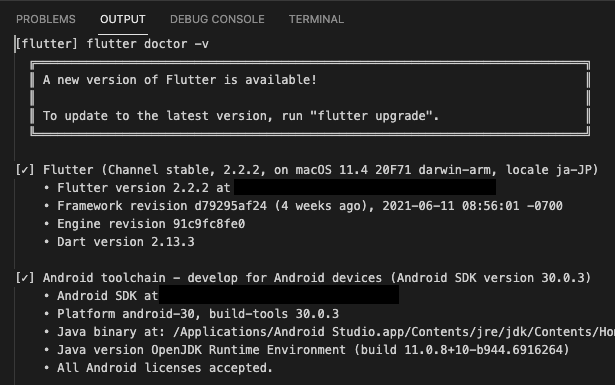
もし、flutter doctorの結果で不足しているものがある場合は、こちらの記事を参考にセットアップをしてください。
4. アプリの実行をしてみる
試しに、アプリを実行してみましょう!
View > Command Palette…をクリックして、”flutter”と入力します。
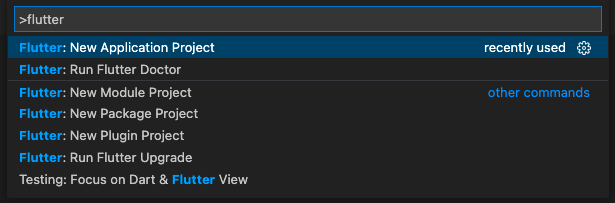
Flutter: New Application ProjectでFlutterの新しいプロジェクトを作成できます。プロジェクトを配置するディレクトリの選択画面が表示されますので、任意のディレクトリを選んでプロジェクト名”my_app”などで新しいアプリのプロジェクトを作成しましょう。
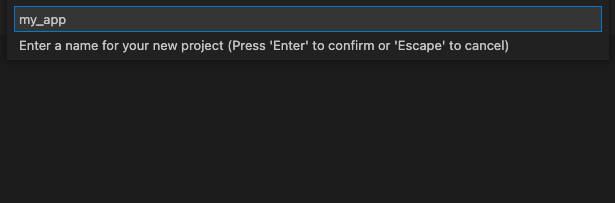
少し待っていたら、必要なファイルが準備されて新しいアプリのプロジェクトが作成されます。
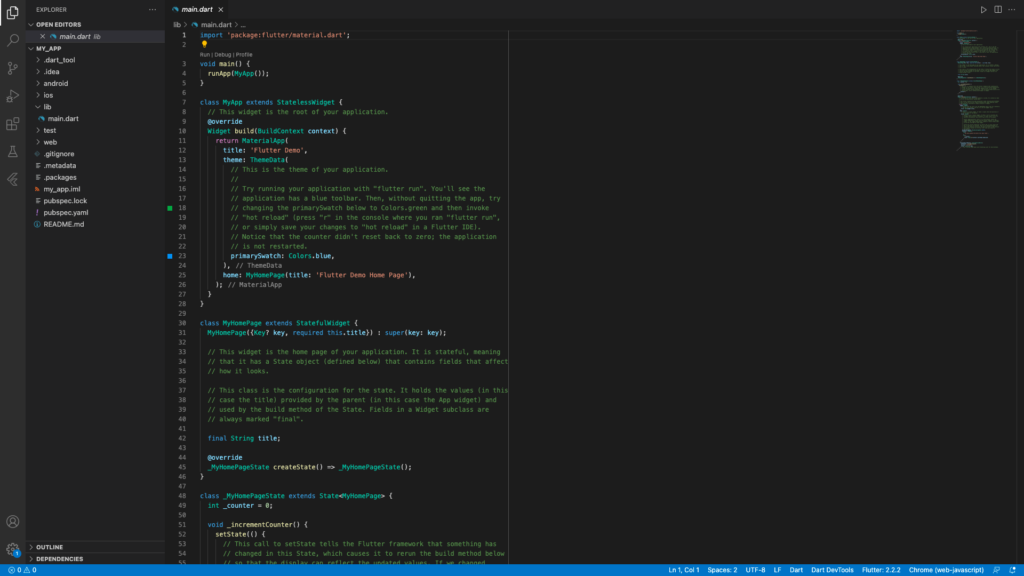
こんな感じの画面になれば準備完了です。
次に、このアプリをiOS Simulatorで実行してみましょう。
ターミナルでコマンドを実行して、iOS Simulatorを立ち上げます。
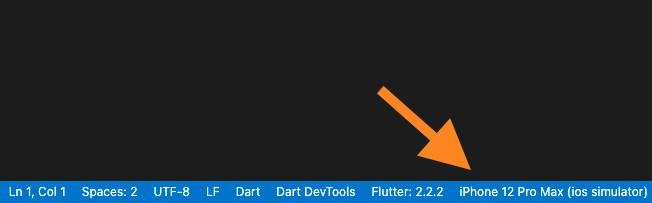
open -a simulatoriOS Simulatorが立ち上がると、VSCodeの右下にiOS Simulatorの項目が表示されます。
Run > Start DebuggingまたはF5キーを押すとアプリのデバッグが実行され、少し待っているとiOS Simulator上にアプリが立ち上がります。
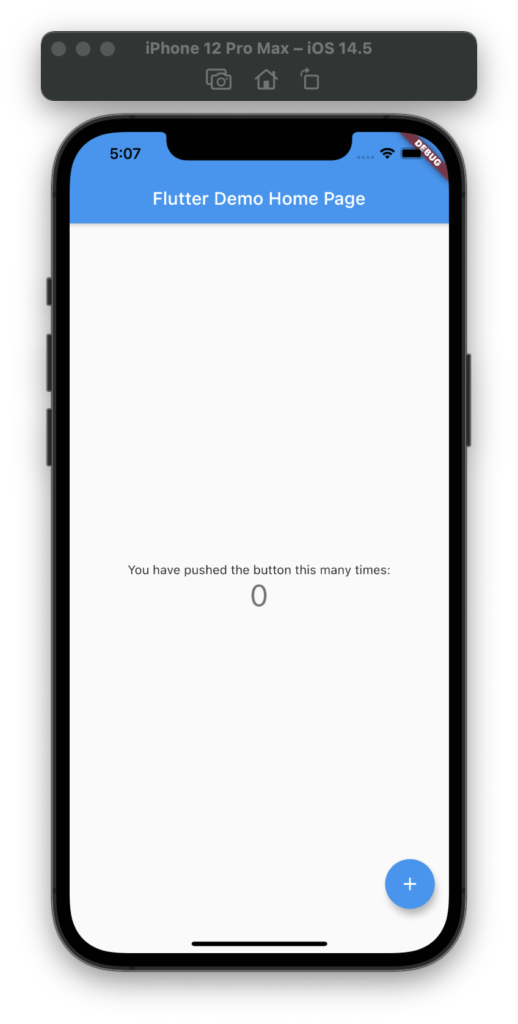
正常に起動できていたら、iOS Simulatorが上画像のようになります。
お疲れ様でした。これで開発環境の構築完了です!
コメント